Lets Start.
1) Install Plugin

Go to your WordPress Dashboard. Then open the plugins page > Add New Plugin.
Search for PluginOps Page Builder. Install the PluginOps page builder plugin and activate it.
Add a new landing page.
2) Design the Coming soon landing page.
There are two methods I can create the coming soon landing page.
The first and easy one is to use a designed coming soon landing page free template and edit it to add my content.
The second method is to use the drag and drop builder and design my own template from scratch.
The first method is fairly simple and anyone who have used the WordPress can edit a template to add their own content so I am going to create a coming soon template from scratch and this coming soon template will also be available in the plugin for free.
Elements for a coming soon landing page.
- Main Heading and sub heading about website.
- Countdown timer, Timed for site launch.
- Optin Form to collect leads on landing page.
- Contact information.
Now we have the list of elements we want for our coming soon landing page we can start designing it.
Lets Start Designing Coming Soon Page
First open the landing pages page from WordPress dashboard menu and add a new landing page.

- Add a title for coming soon landing page.
- Open the right side bar select the status of this landing page as draft and click publish button.
- This will save the page and we can start designing.
Next click on left side bar button to open page options and set a background image. You can find open source images for your projects on unsplash.
Close the side options panel and add a new row and set the following options. You can change these options and modify the coming soon landing page but to achieve the above results I am going to stick with the boilerplate.
- Background Color : Transparent
- Row Padding Desktop : Top 2, Bottom 2, Left 25, Right 25.
- Row Padding Tablet : Left 10, Right 10.
- Row Padding Mobile : Left 5, Right 5.
Setting multiple values for each device gives you control for landing page design on any device, Even if you don't set these options the default PluginOps CSS framework will try to show the landing page similar on all devices but its better to have control.
The other way to achieve this same boxed row effect for coming soon landing page is to add padding left & right to the body element.
Next edit the column by clicking on blue column edit button and set the background color to : rgba(255,255,255,0.82)
Now the coming soon landing page page should look like this. This is the base design now we can start adding content using the widget.
Add Content With Widget Elements
In pervious steps I have created a simple boxed layout design and now we can start adding content elements like text, optin form, countdown timer in coming soon landing page.
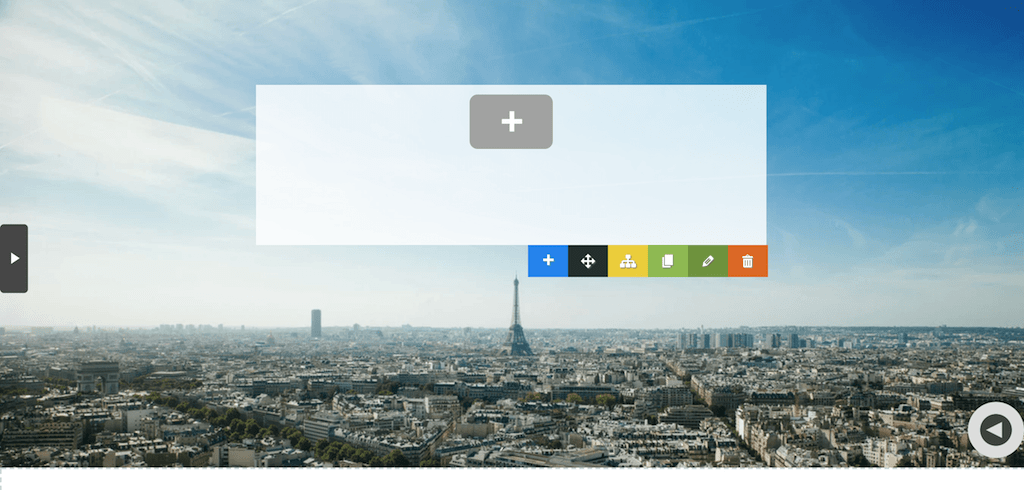
To add a content widget, Click on the plus button inside a column or click on blue edit column button. Open the New Widget tab select any widget in this case the text editor widget drag and drop it on the column.

To edit a widget hover your mouse over the widget and click on edit button to edit it.
All the widgets have unique options which can be used to modify its design, content etc.
Add the logo and headings in text editor widget related to coming soon page the widget will update the data automatically in real time you can also click and type to edit text.
Now go to new widget tab and search for countdown widget and add it below the text. Edit the colors and font sizes of countdown timer.
After adding the text & logo drag and drop break widget on the column, Change its color to : #566db0 so it would go nice with the design.
Now the optin form, If you would have been using some other plugin on this step they would have told you to purchase their premium package to add forms and advanced level elements but PluginOps Page Builder is free and will not charge anything for elements/widgets all the content elements are free and will remain free.
Drag and drop the subscribe form widget below line break and edit it.
For subscribe form I've hidden the name field and set following options :
- Background Color : #01aac2
- Widget Margin Top : 2%
- Margin Botton : 5%
- Margin Left : 10%
- Margin Right 10%
You can also use responsive breakpoints to edit the widget margin and padding for coming soon landing page.
The last element we will add is the contact information like facebook, twitter email etc.
To add the contact information with icons use the Icon list widget and add it below the optin form.
Set its background color to : rgba(86, 109, 179, 0.8)
And add margins :
- Top : 2%
- Bottom: 2%
- Left : 35%
- Right : 0%
![]()
To add list item click on Add list item button.
Edit the fields to select icon and text then add the link to your facebook & twitter accounts.
Change the color of text and icon to white from styles tab.
The Coming Soon Landing Page is complete but there is one last step left to make it perfect. Text format, The PluginOps Page Builder have options to control all font family and text sizes of all elements on a landing page and I am going to use that option and then the coming soon landing page will be completed.
To open the global option click on the left side panel button and navigate to global styles.
Enable the Global styles for coming soon landing page and set the font family for each element.
Next set the font sizes for each element also test the font sizes using the responsive breakpoint feature.
Now you've successfully designed a coming soon landing page on your WordPress website in just few minutes. PluginOps Page Builder decrease the time it takes to design a page from hours to mere minutes.

Publish the page or set it as homepage and view it to test coming soon landing page on multiple mobile devices to make sure it looks good on all screens.
You can download the PluginOps Page Builder here : https://wordpress.org/plugins/page-builder-add/